

Text and Photos by Henrylito D. Tacio
In Genesis chapter 1, verse 30, God told Adam and Eve, “I give you every green plant for food.” And it was so.
The propagation of plants is basically divided into two types: the sexual (or propagation by seeds) and the asexual (or propagation using vegetative parts or plants). Among the two types, seeds are the most important.
“Seeds are many things,” wrote Victor R. Boswell, author of The Importance of Seeds. “Above all else, they are a way of survival of their species. They are a way by which embryonic life can be almost suspended and then revived to new development – even years after the parents are dead and gone.”
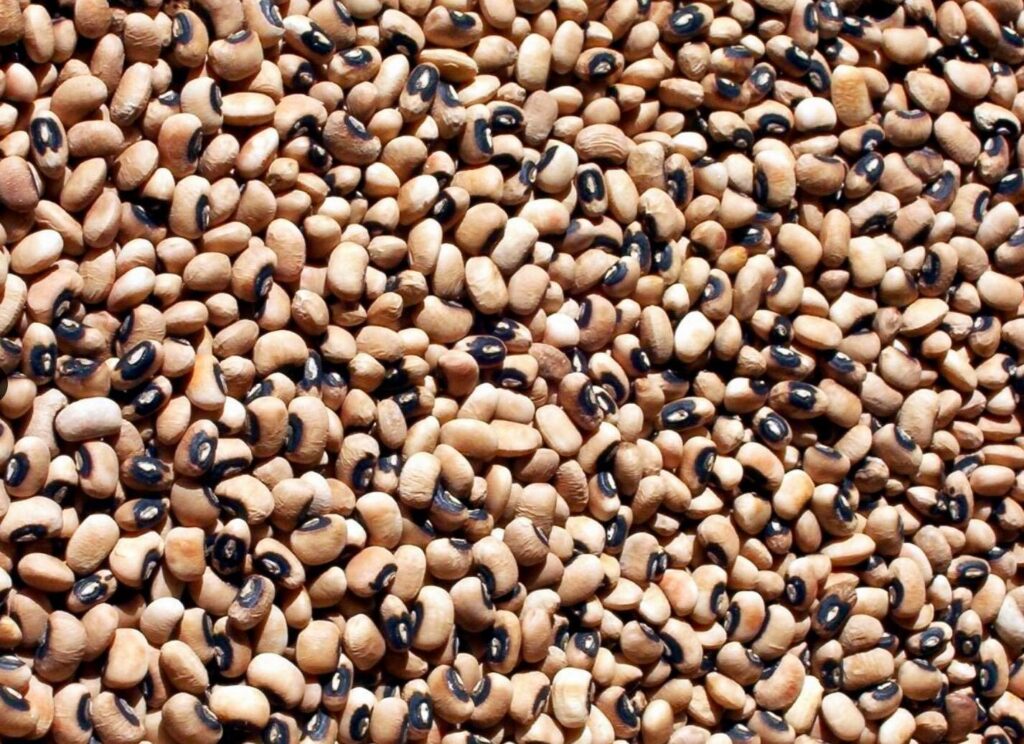
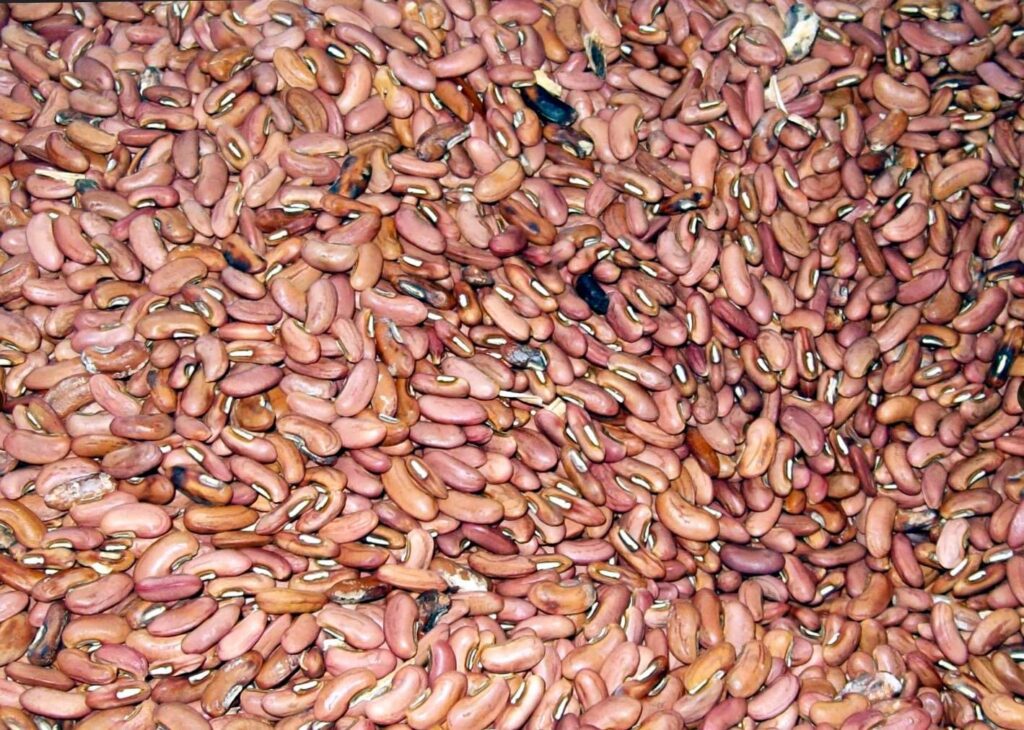
No wonder Filipino farmers who plant vegetables, beans, pulses, and cereals are planting seeds for their next crop season. This is the reason why the Mindanao Baptist Rural Life Center (MBRLC) Foundation, Inc., through its several years of experience, is urging farmers to produce their own seeds.
“There are two advantages when farmers produce their own seeds,” says Jethro P. Adang, the director of the foundation, which is based in Kinuskusan, Bansalan, Davao del Sur. “For one, they can practice rigid selection. For another, the plant selected is likely to be adapted to the local environment.”
Here are the basic steps to follow, as recommended by MBRLC:
Selection: Choose the plants most resistant to pests and diseases, those that flower and ripen earlier, have more fruits or pods, and the type that you need (as to the size of the fruit, height, and other unique characteristics). Selection should be done preferably a week before harvesting the entire crop. Tag the selected plants with a bright-colored ribbon for easy identification.
Harvesting: Harvest the seeds or pods when they are already matured. The seeds usually mature at the same time the fruits ripen. Do not harvest immature ones since their seed parts are not yet fully developed.
Extracting: In processing, carefully extract the seeds from their pod or fruit. Extraction may be accomplished by beating the pods, by threshing or treading them underfoot, by drying them under the heat of the sun, or by manually opening the fruit and extracting the seeds by hand.
Drying: High moisture in seeds during storage is one of the chief reasons that they lose their ability to germinate. This is the reason why drying, the evaporation of moisture, is very important.
Drying under the heat of the sun is the most convenient to use. Dry processed seeds (like mungo, string beans, and other legumes) usually take three days to dry under the sun, whereas wet-processed seeds (such as tomato and eggplant) need to be dried for four days. In cases where there is off-and-on sunshine, you can test the dryness of your seeds by biting one of them with your teeth. Dry seeds are brittle and hard to bite.
Seed treatment: After drying, select the best seeds, culling those with insect holes, undersized or damaged in some ways. Then treat the seeds with pesticides to prevent parasites – those organisms which cannot make their own foods and feed on living tissues – from attacking them. At the MBRLC, they use an insecticide powder at one teaspoonful per three kilograms of seeds. To keep the fungus in check, a fungicide powder is recommended, following the same dosage as that of insecticide powder.
Seed storage: After treating seeds, store them in airtight containers. In general, seeds have the ability to absorb water from the air for some time after drying. Changes in their moisture content result in shorter storage life. An old, unused jar could be used for storage, but be sure to wash the jars and dry them under the sun before using them.
Germination testing: Testing the viability (or germination percentage) of seeds is important before planting them in the field, so you will have an idea as to the quantity of the seeds you are going to use. If germination is poor, you need to increase your seed quantity or discard the seeds.
“We measure the quality of seed by testing a representative sample of a lot,” a wise man once said. There are three methods of germination testing: the ragdoll, the plate, and the seedbox. Below is a brief description of each method:
· In the ragdoll method, take 100 seeds at random from the sample and place them in a piece of moistened cloth (about 12 inches by 18 inches). Then, roll the cloth containing the seeds around a pencil-sized stick 18 inches long. After rolling, tie the legs’ edges to prevent the seeds from falling. Place in a dark, cool place and keep moist.
After 7 to 10 days, open the ragdoll and count the germinated seeds. The number of germinated seeds will be equal to the percent germination. For instance, if 80 seeds have germinated, the germination rate is 80 percent. This means for every 100 kilos of seeds, 80 kilos will germinate, and the remaining 20 will not.
· In the plate method, cover a kitchen plate with 5-6 folds of tissue paper. Place 100 seeds on top of the tissue paper. Cover it with a second layer of tissue paper. Sprinkle the covered seeds with water three times a day. Follow the same procedure used in determining percent germination in the ragdoll method.
· In the third method, the soil to be used should be composed of one part sand, one part compost, and one part ordinary garden soil. These soils are mixed thoroughly. After mixing, sterilization is recommended by pouring boiling water on the surface of the soil or burning dried leaves of banana on top of the soil. Let the soil cool off, and then plant the seeds. If you plant 100 seeds and 80 seeds germinate, the germination rate is 80 percent.
“Doing these simple procedures will provide Filipino farmers of good quality seeds that will increase their production and their farm income,” assures Adang.